Manage Business Details and Setup Payments
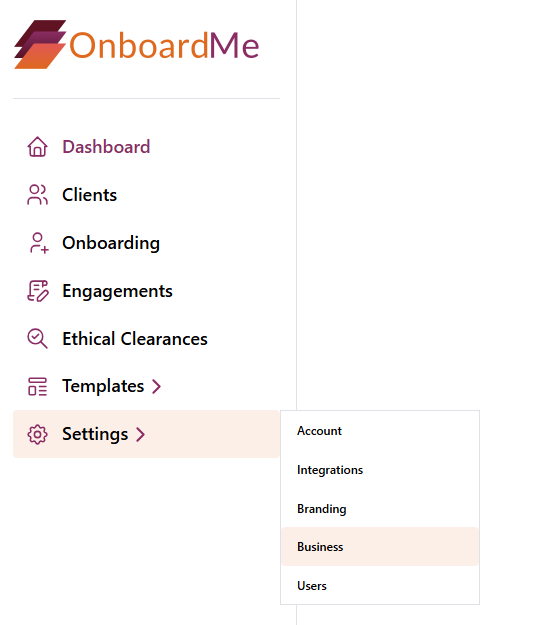
Once you have logged into your OnboardMe account, select the "Settings" option from the menu, and then click "Business".
This will take you to the "Business Details" page
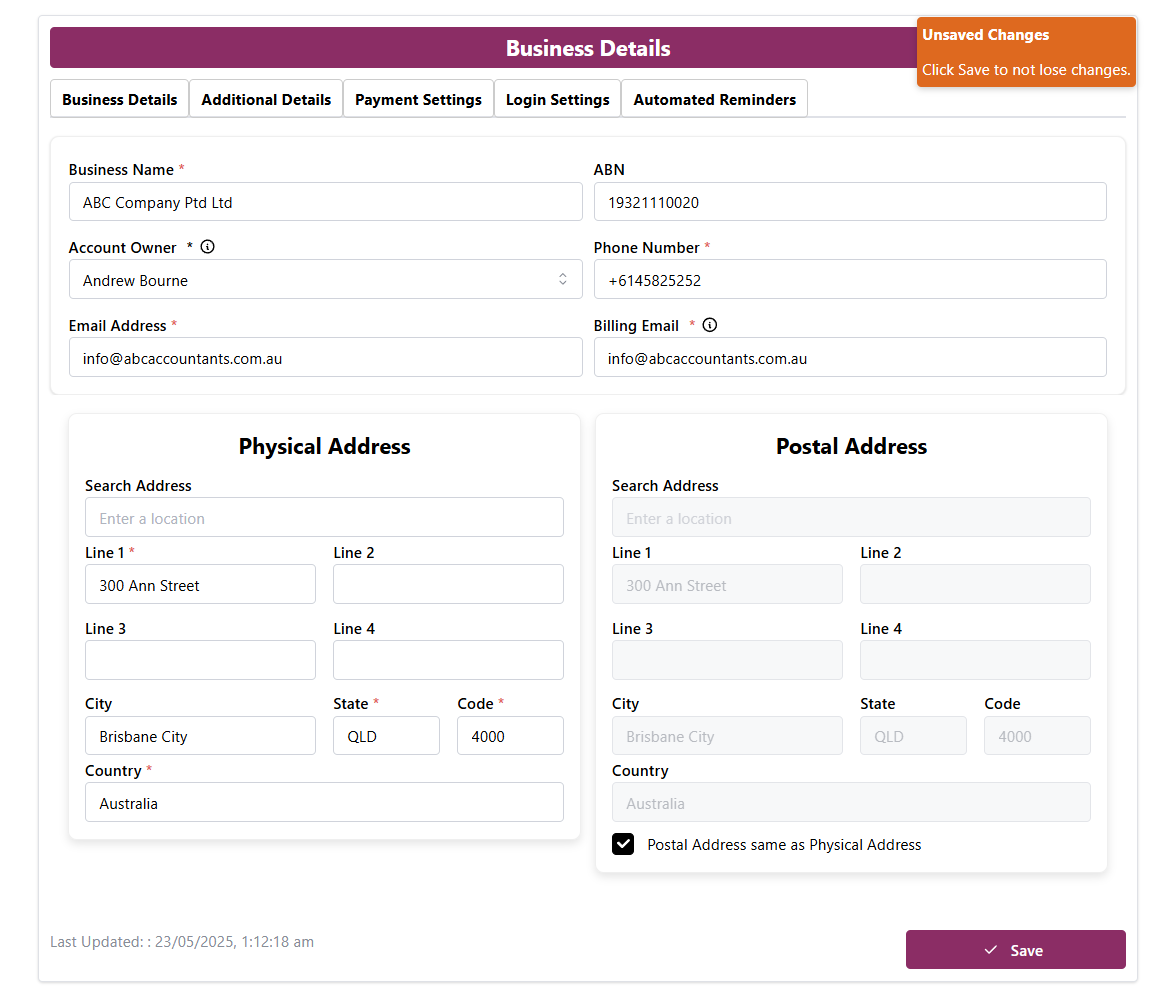
To finalise the setup your business, OnboardMe requires you to provide the relevant information on the first tab called "Business Details".
The information that you are requested to complete, will be used to create a user-friendly experience for both you and your client. Business details will be present on your onboarding, engagements, and ethical letter requests, in order for your clients to access the info, as well as to present a professional approach.
The billing email address will be used when creating an account with the payment provider.
The account owner is the person responsible your OnboardMe account, and will be the point of contact for all mandatory OnboardMe updates.
Some fields are marked with a * as they are mandatory.
Once you have provided all of the required business details, click "Save" on the bottom right of the Business Details section
Then click on the next tab called "Additional Details".

The "Show Relationships" field allows for the you to elect if you would like to show the relationship between your clients on the Onboarding Wizard.

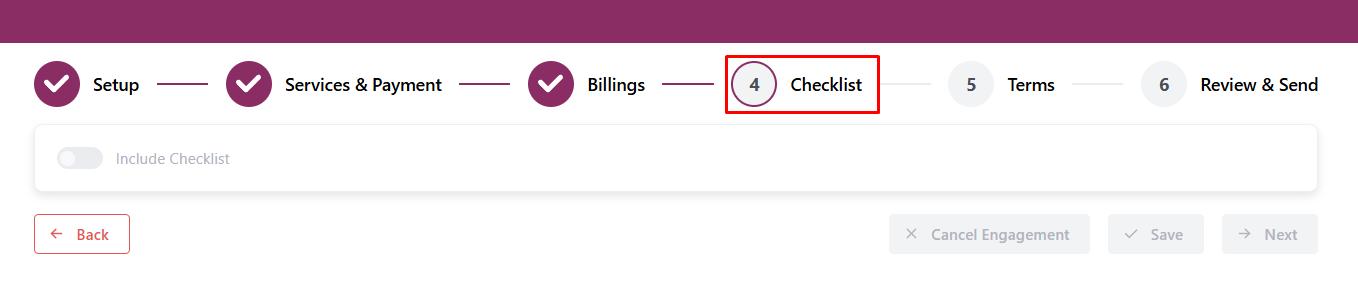
The "Show Checklists on Engagements" field controls the visibility of the checklist step when setting up an Engagement. Even with this setting set to Yes, Checklists are optional on the Engagement Wizard.
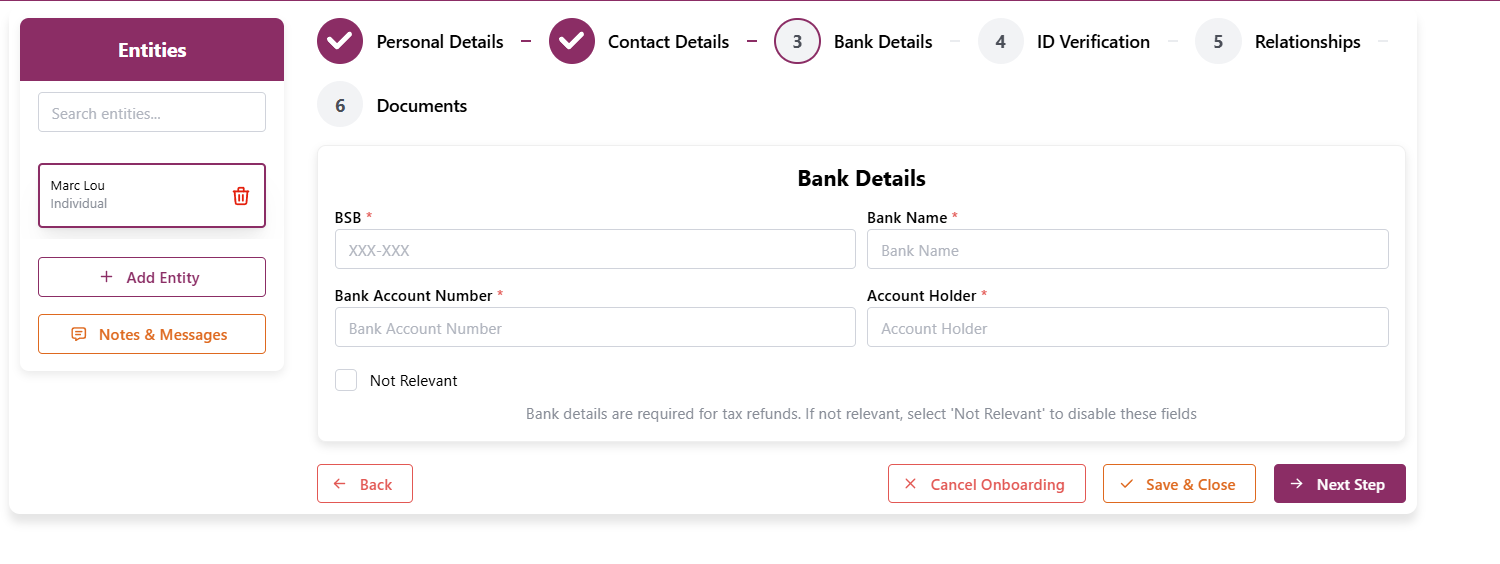
The "Bank Details Mandatory" field allows you to create a mandatory rule, that your clients have to submit their banking details during onboarding, which allows you to be on top of your receivables upon service completion.
The "Website URL and meeting link" fields will allow you to choose if you would like them to be present on your requests, in order for the client to be connected with you and your practice.
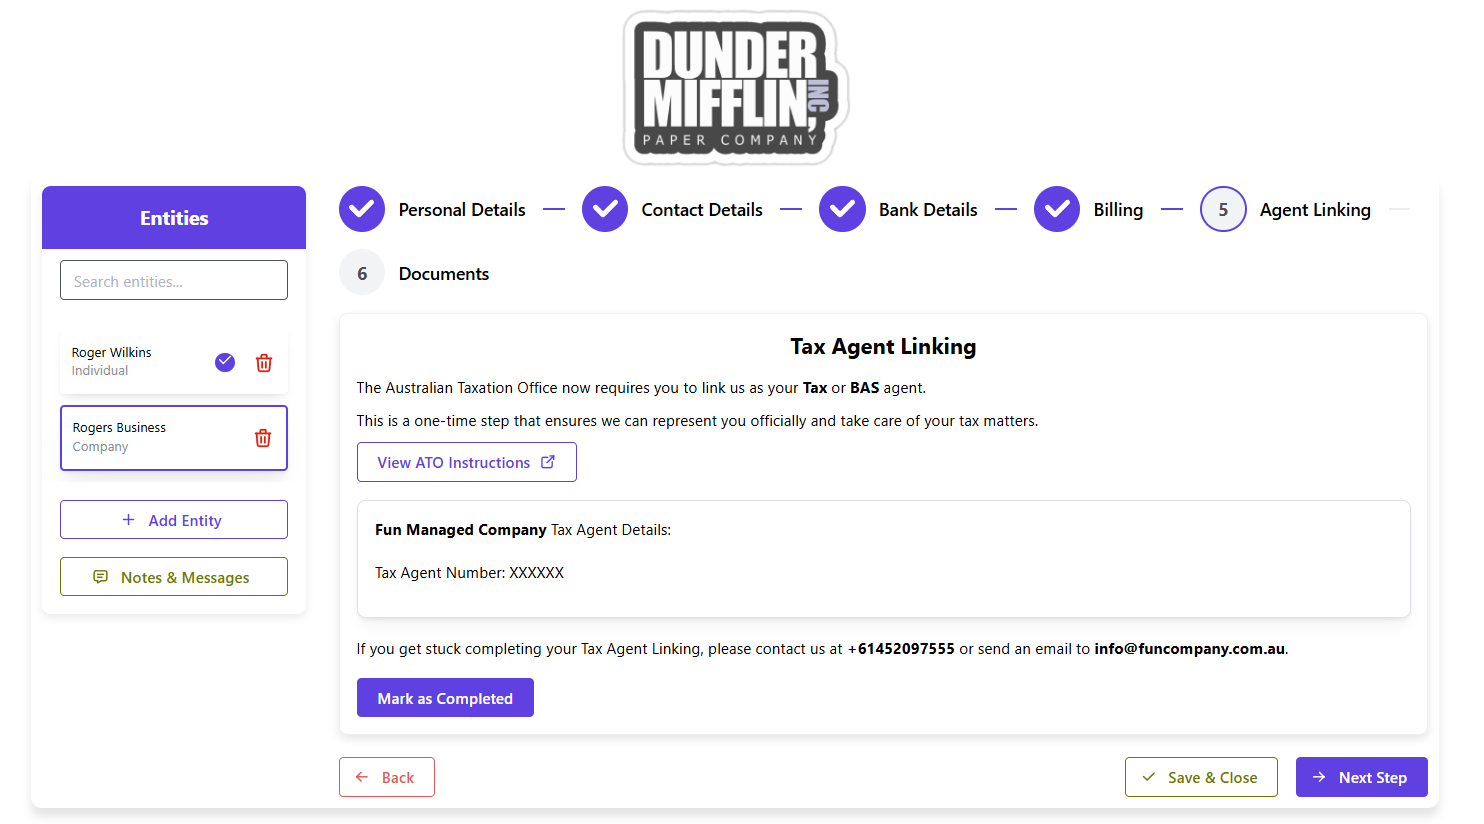
The "Tax Agent Details" field allows you to capture your Tax Agent Details which will be shown on the Client Agent linking Step on the Onboarding Wizard.
Once your additional details have been completed, click on the next tab called "Payment Settings".
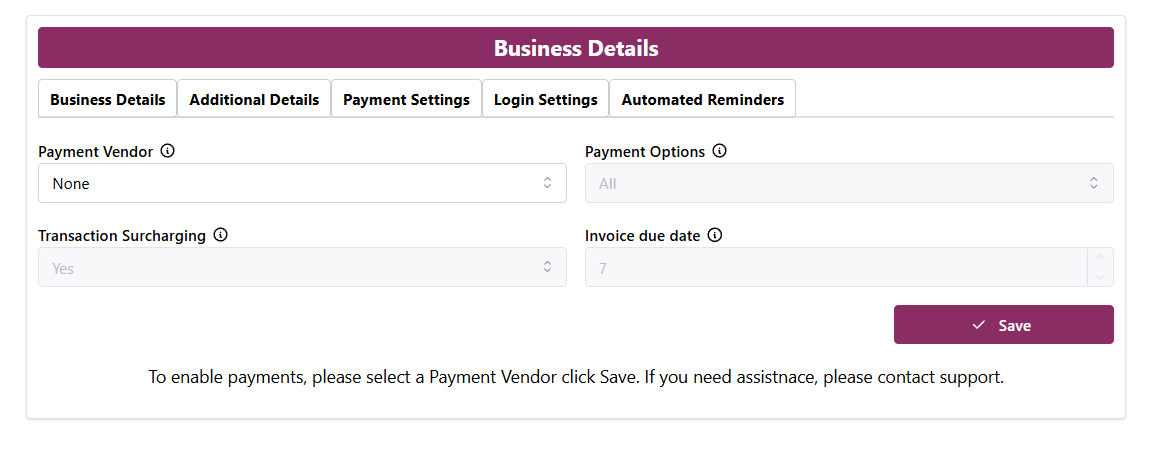
To setup payments, check out the following help article: Enable Payments In OnboardMe.
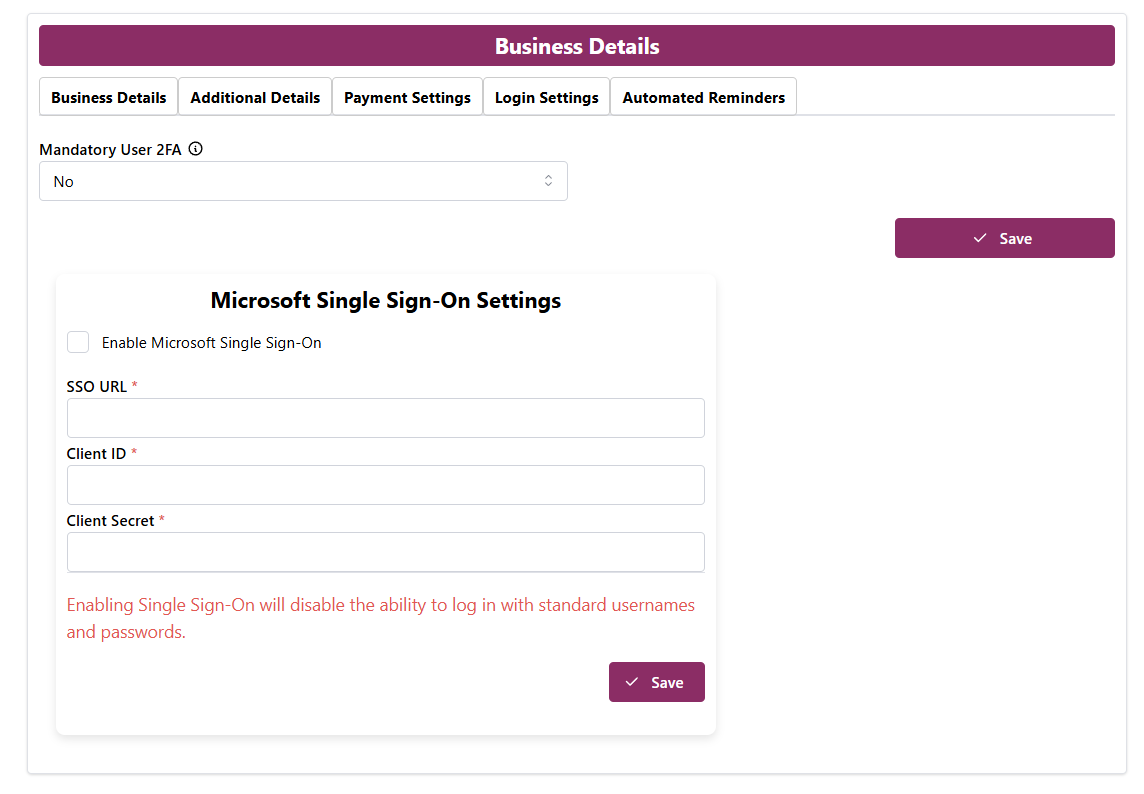
Next click on "Login Settings". Here you can configure Mandatory 2FA for users signing into your business and also setup Microsoft Single Sign-On.
To configured Microsoft Single Sign-On, check out the following help article: Activate Microsoft Single Sign-On.
Once all your Login settings have been configured, click on Save and then click on "Automated Reminders".
Automated reminders are disabled by default for all practices, to enable them toggle the Enable Automated Reminders switch.
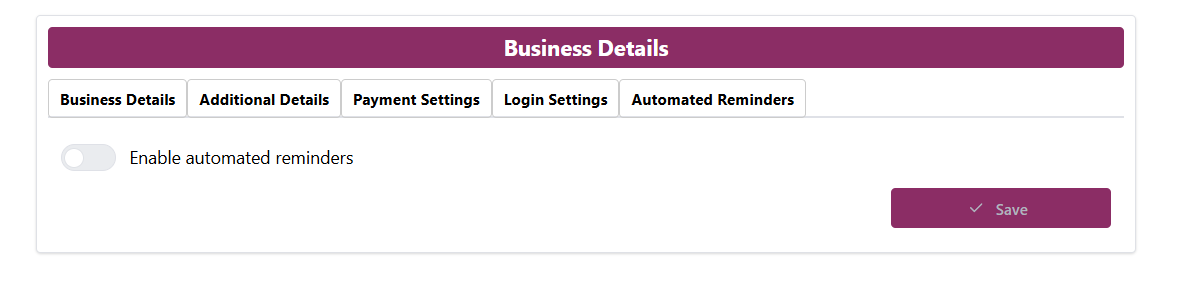
Once enabled, you will see Automated Reminder settings for Client Onboarding, Ethical Letters and Engagements.
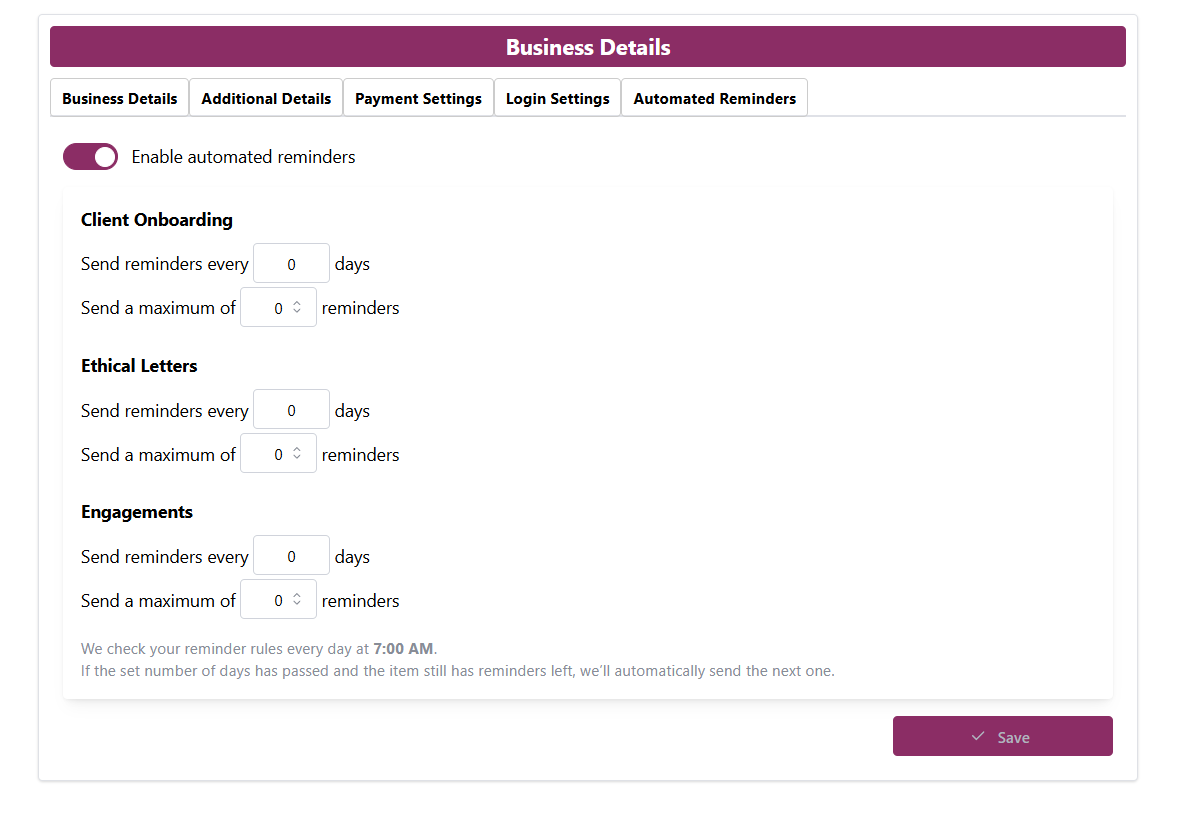
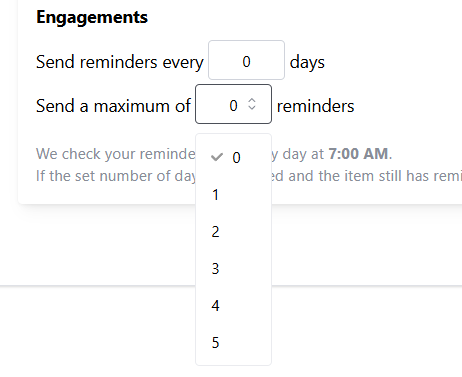
OnboardMe allows you to configure one or all modules to have automated reminders. We however impose some rules around these: you can only send a maximum of 5 automated reminders for each outstanding item.
Once you have configured automated reminders, click the Save Button.
Your account setup is now complete. If you have any questions regarding the information that has been requested upon set up of your account, please contact support@onboardme.app