Add, edit or remove users
You may have other users who you want to access OnboardMe, so the following steps will allow you enable or disable access
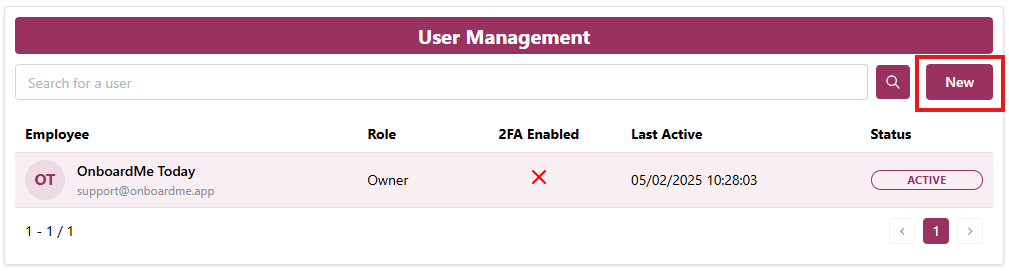
In order to add a user, simply select the "Settings" option from the menu, and then click "Users"
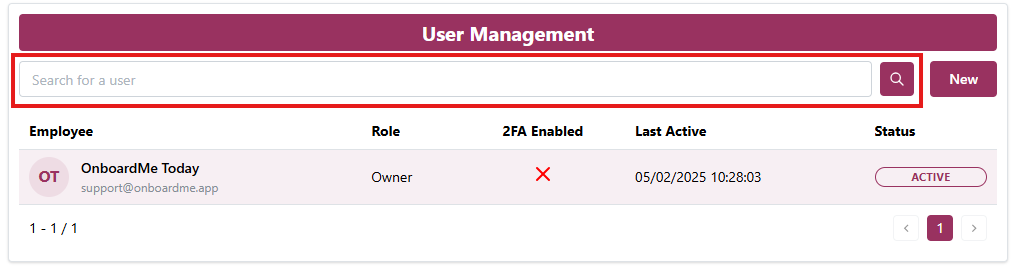
This will take you to the "User Management" page.

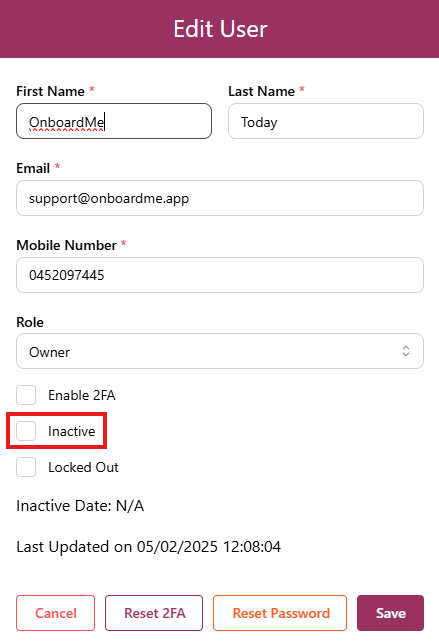
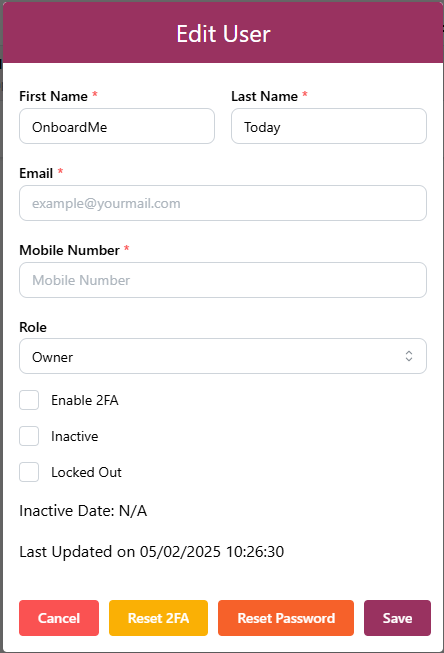
You will see your details as the owner there already. In order to edit your or any other user's details, you can just click on the user and amend any details you would like to. You will also be able to enable 2FA security protection, reset your 2FA, and reset your password, if you need to. Some fields are marked with a * as they are mandatory.
In order to add a new user, click "New" at the top right hand side corner.
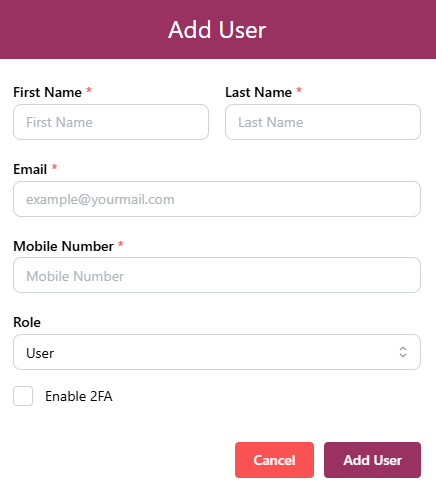
The "Add User" screen will pop up, where you can fill the new user's details, as well as select a "role", which will determine if you would like to make them an "owner", "admin" or "user".
"Owner" - Responsible for your OnboardMe account, will full access and permissions.
"Admin" - Has full access across OnboardMe, which includes managing Settings, Users, Templates and Integrations.
"User" - Can utilize all functions on OnboardMe, but does not carry permissions to make any changes.
In order to search for a user, type the user's name in the "search bar" at the top of the "User Management" page, then click the "magnifying glass button".
If you would like to remove access from a user, simply click on the user, and select the "inactive" block, then click "save".